 Now you are ready to use the software. This particular print server is made by Netgear. I have found it very good for what I do. There are other brands, such as Linksys, and there are also some wireless models available. This is really just a preference of the user. You can even find printer switches available, but I didn't have very good luck with that choice. I recommend the type of setup I am using here.
Once you have the physical setup, insert the disk that came with your print server. The following graphics are from the Netgear setup utilities. This print server is very simple to set up.

Start the Print Server Setup Wizard and the above screen will appear. Click Next.

Select your printer from the list above. Click Next.
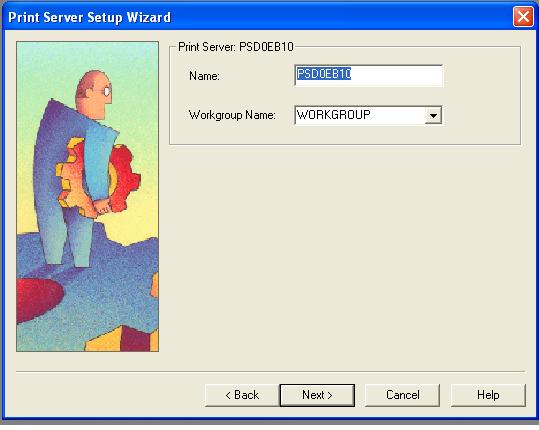
Select your printer name and network name. Click Next.
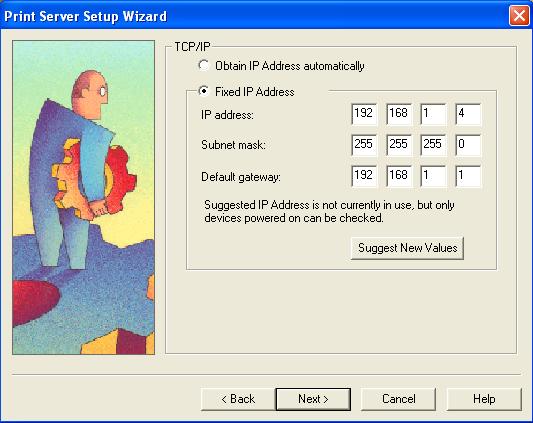
I recommend using a static IP address for your printer. This way, the computer always knows the address of the printer on your network. If you set it to automatic, your IP address may change each time you login to your computer. Make sure you set it to an address that is in your IP schema range and is not already in use. Click Next.

All Done! Now it's time to add the IP port to your computer. Start the Add Printer Port Wizard. Just keep clicking Next until your printer is added. Do this to all of your computers where you'll need to print. Make sure you have the printer's drivers loaded. That's all there is to it!!
No comments:
Post a Comment